


How to Iron a Dress Shirt
There comes a time in virtually every man’s life when he is going to be forced to press his own dress shirts. Fret not, it’s not as hard as it looks, and we’ll try and make it fun. Knowing your hard work and attention to detail results in confidence when wearing (and keeps a few extra pennies in the wallet), makes this time well spent, so let’s take the bull by the horns and press on.
STEP 1: GEAR UP
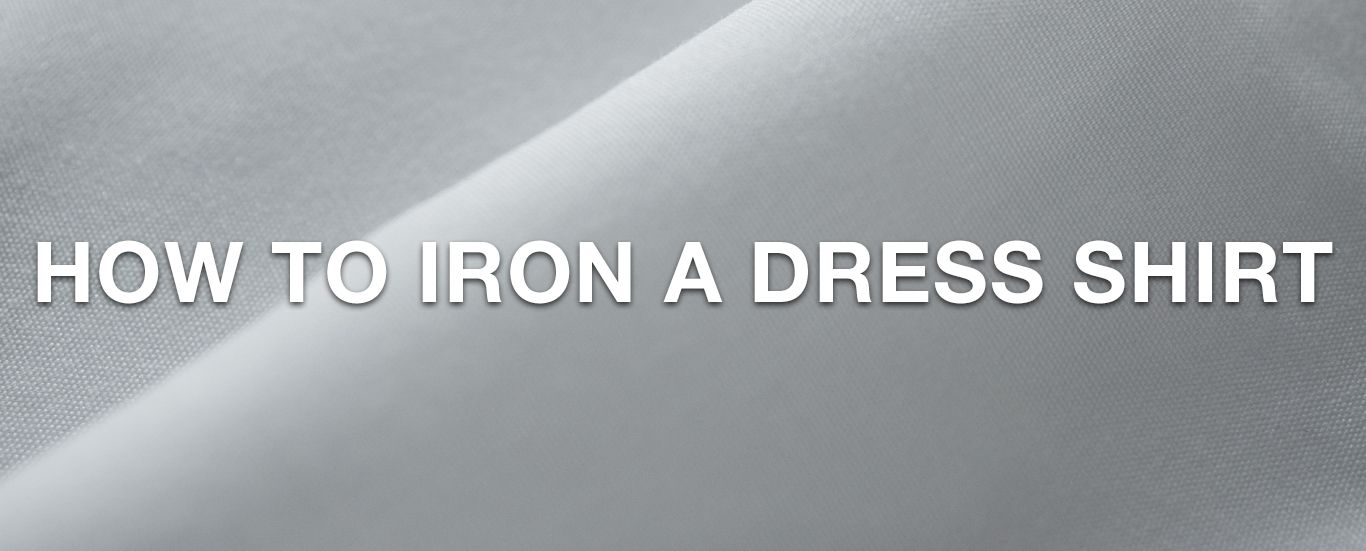
Using An Iron
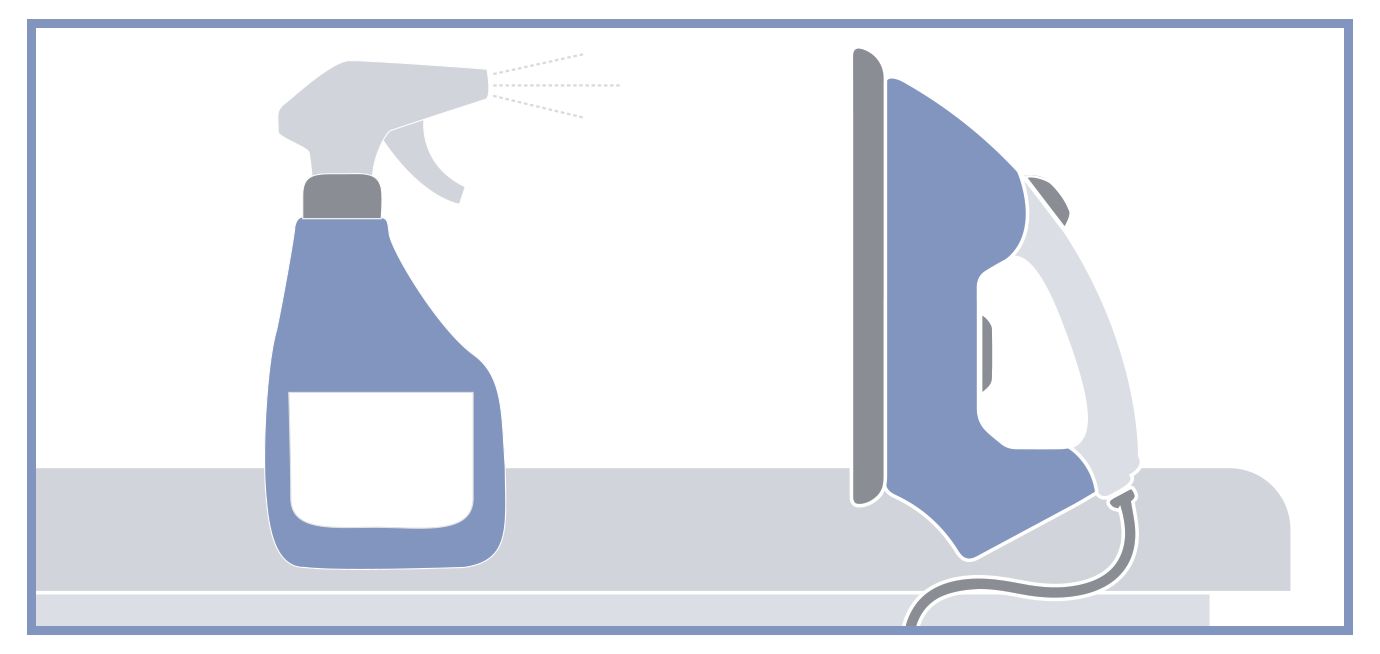
If you must go out and buy one, Make sure a steamer function is part of the iron. This makes getting that smooth, crisp look for your shirts that much easier. And ideally, one that has a nice and slippery Teflon coated bottom. This should not cost a fortune. You don’t need the sleekest, sportiest, most technologically advanced iron out there, just one that works.
Put some water in the iron for the steamer function, drinking water is generally best for most irons and to fill your spray bottle. Now you’re ready to plug in the iron, dial it up to cotton setting, if there is one, otherwise make it the hottest.
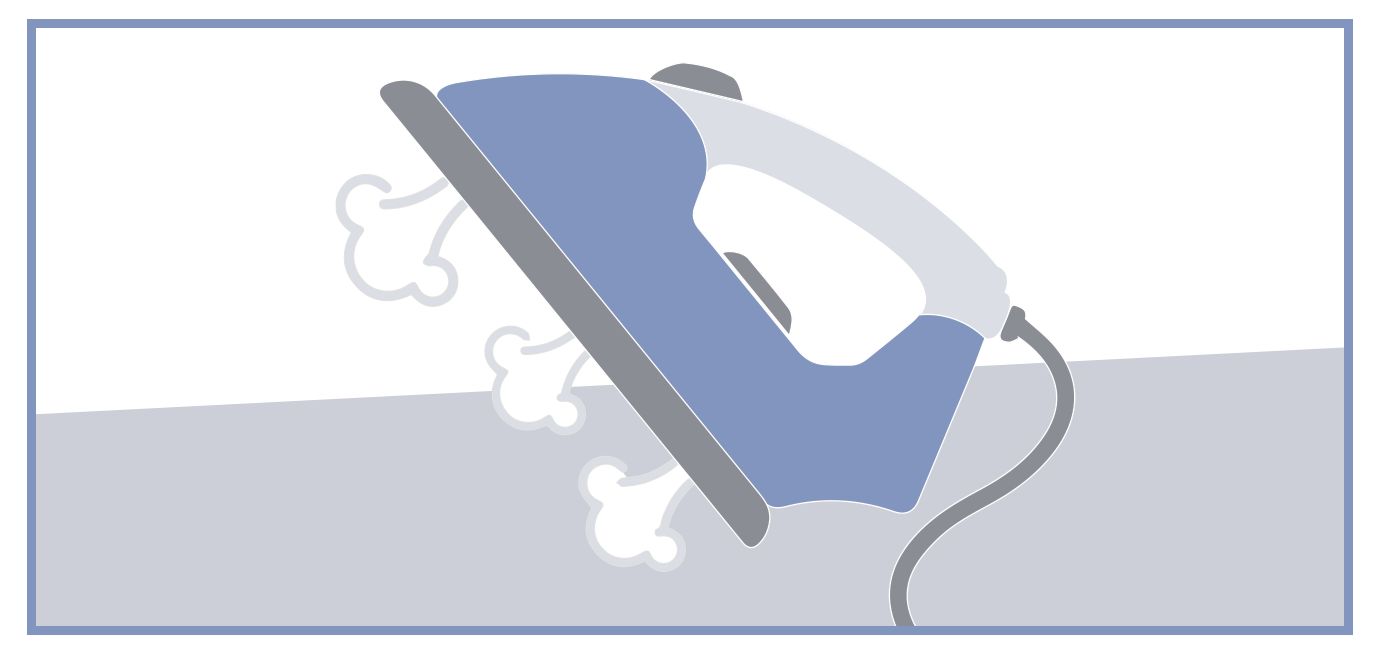
Setting Up Your Ironing Board
Ideally the big boy version that stands at waist level (they are adjustable) is best. Space is usually a concern, but they do collapse flat to keep either in your closet or under the bed.
Just as important is the pad, which should be thick enough to provide a buffer for the heat of the iron, too thin a pad will make ironing the wrinkles out of your shirt infinitely more difficult.
Having an outlet nearby an open space to set up the board is the ideal situation, (perhaps with a good view to the T.V. so you don’t fall asleep from boredom). For those unacquainted with the mechanics of an ironing board, opening it will generally require moving a lever-like mechanism on the bottom of the board. Once in the right position, the board will spread and ideally lock into place.
If you’ve already committed to the table board variety, it will still do the trick, just a bit harder to work with than the real deal. Final prep, fill your spray bottle, especially helpful if your PF dress shirt has been in a ball at the bottom of your gym bag.
STEP 2: PRESS FORWARD
Preparing Your Shirt To Iron
First dampen your shirt lightly (do not get trigger happy) with your water bottle. No need to saturate just getting the fabric slightly damp will make ironing the wrinkles out. Ironing the wrinkles out will be easier and it will minimize the usage of your steam function on the iron to an as needed status only.
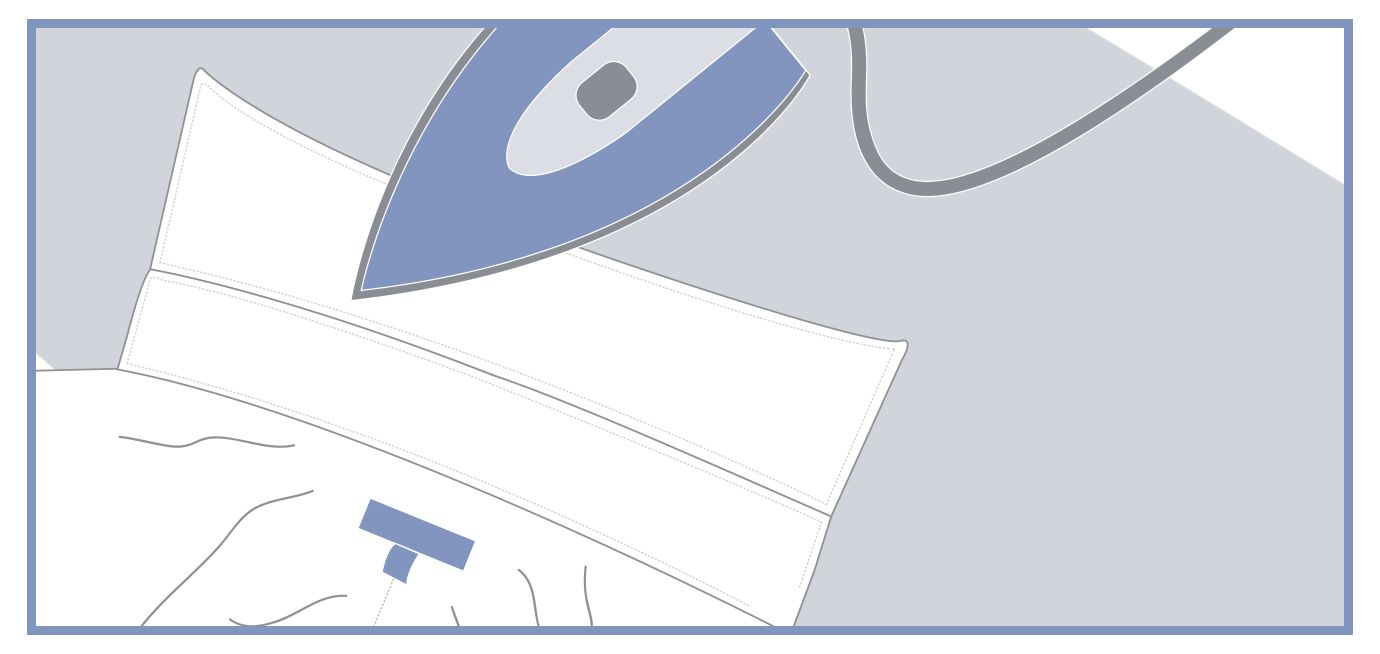
Ironing a Dress Shirt Collar
Unbutton all the buttons. This includes any collar buttons. And remove the collar stays. Put them someplace where you will remember and then DO remember to replace them after.
While there is no hard and fast rule as to which part of the shirt to iron first, we like to start with the most important. Not only is the collar always exposed outside your jacket, it also frames your face, making it a major focus of attention.
Start by “popping” the collar up and begin with the back. Press any wrinkles to the bottom where they’ll be less visible. Flip, and repeat.
Ironing Dress Shirt Cuffs
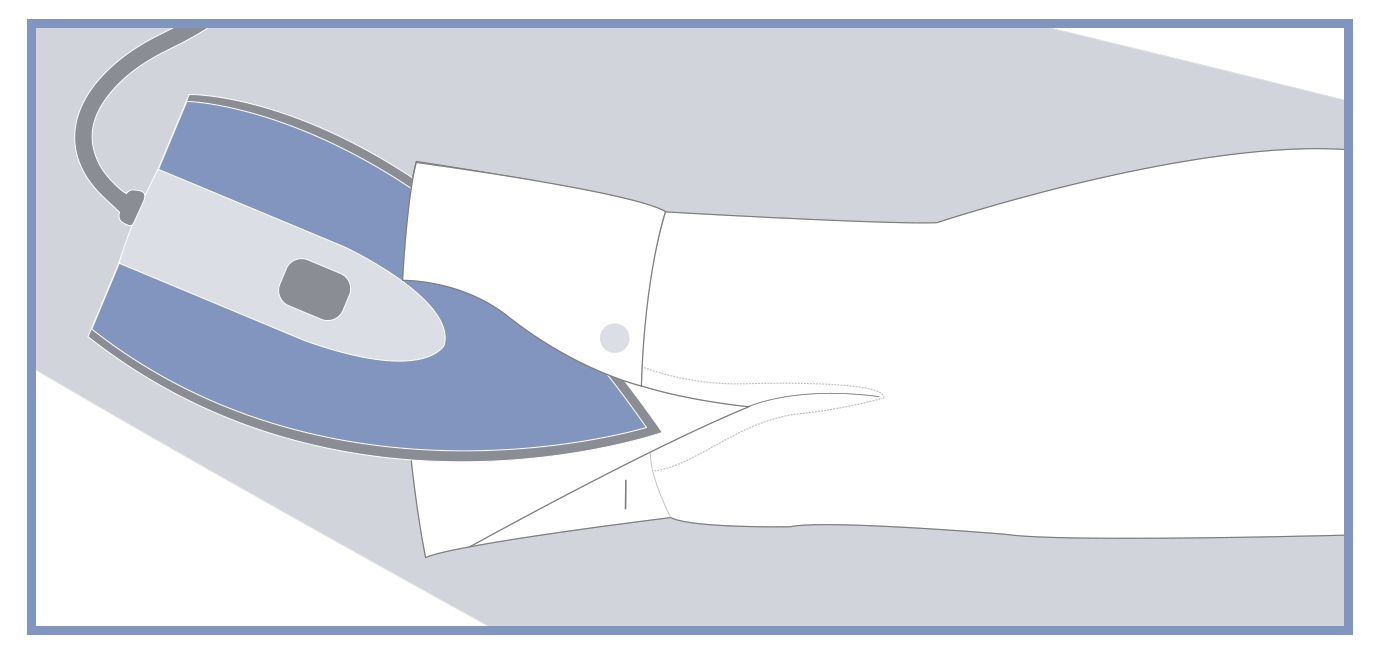
Next, move on to the cuffs, which also tend to be a focal point not covered by your jacket.
First, unbutton all buttons, lay it out flat, and press the inside and then the outside, carefully ironing around (not over) the buttons. French cuffs should be treated in a similar manner.
Ironing The Shirt Front
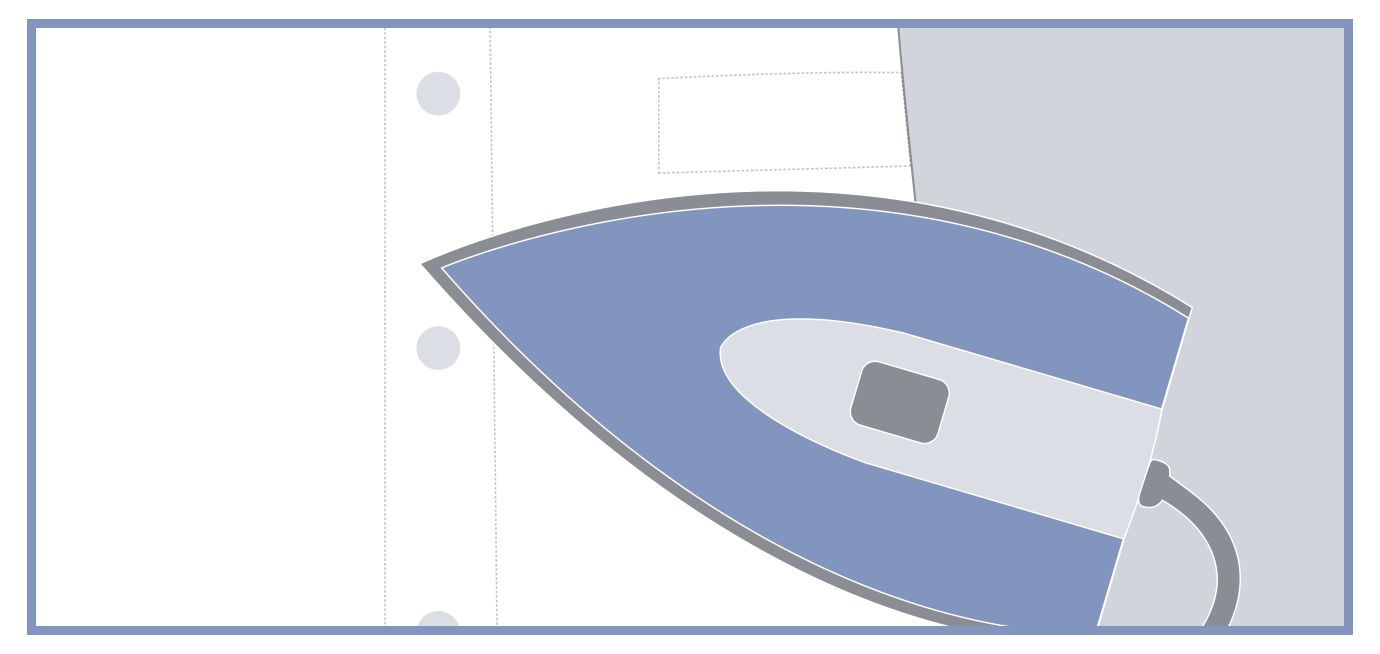
Next, let’s tackle the front of the shirt, laying it out on the board, carefully pressing around the buttons with the iron point. If your shirt has a placket, press the fabric under with the tip of the iron and then run it over for a smooth button front. If wrinkles won’t iron out using moderate pressure, lightly spray or use the steam button function on your iron.
Returning to the top of the shoulder, slide the shirt sleeve over the point of the ironing board, using the ironing board as your arm, so the shoulder has a nice, tight fit. Work your way down on both sides.
It’s the same deal with the back of the shirt. Start at the top of the yoke (that’s the back-shoulder area) and move slowly downward. If there’s a center box pleat, most common with button-down collars, take a few extra moments to iron around it, not iron it back in.
Ironing Sleeves On A Shirt
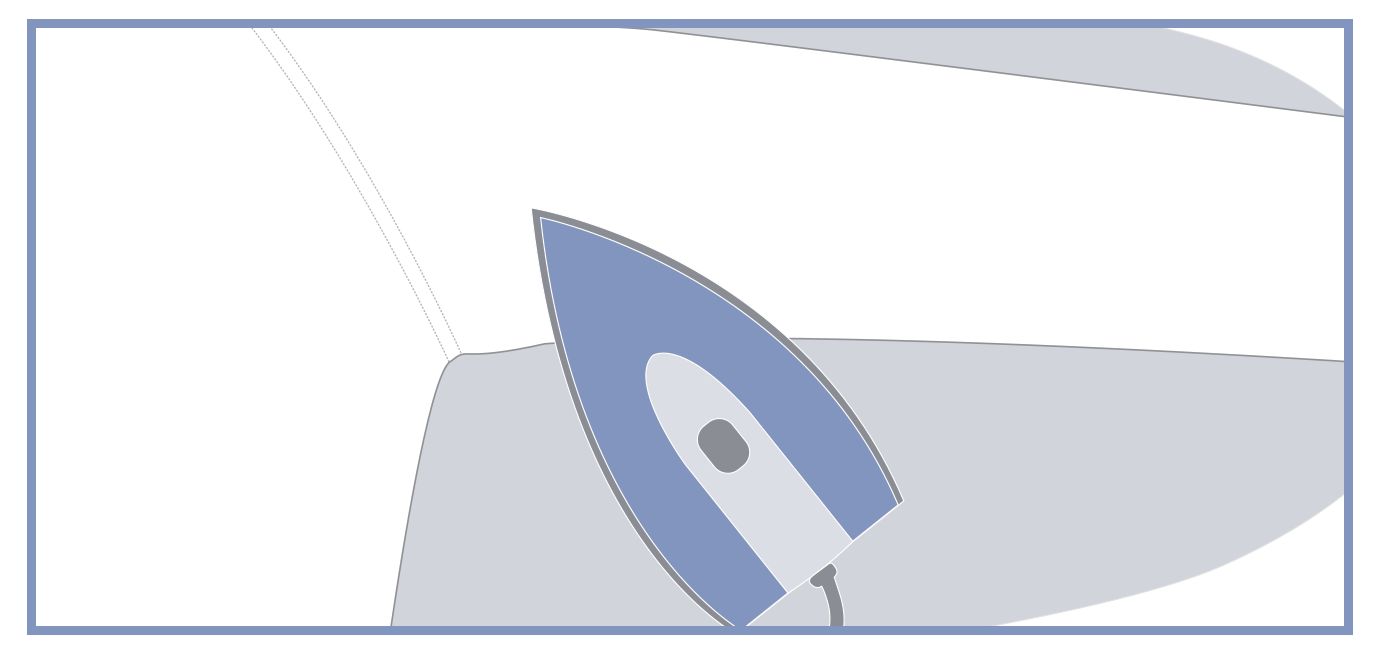
For most men, the sleeves are the hardest part of the shirt to iron, primarily because you have no choice but to iron two layers of fabric at once.
The key to getting a nicely pressed sleeve is to make sure it is flat and smooth BEFORE you touch it with the iron. Using the seam as your guide, lay the sleeve and most of the shirt flat on the ironing board. Start at the top where the sleeve meets the shirt and iron down to the cuff. Turn it over and repeat.
STEP 3: Enjoy Your Wrinkle-Free Dress Shirt
And that, gentleman, is a wrap, unless, of course, you have a pile of shirts to do. At which point, we think it fair to at least mention that if you decide this may not be the best use of your time, there are scores of commercial cleaners (aka dry cleaners) that would love to not only press, but also launder your shirts. Not to mention the easy, wrinkle-free alternative of non-iron dress shirts. To each his own.